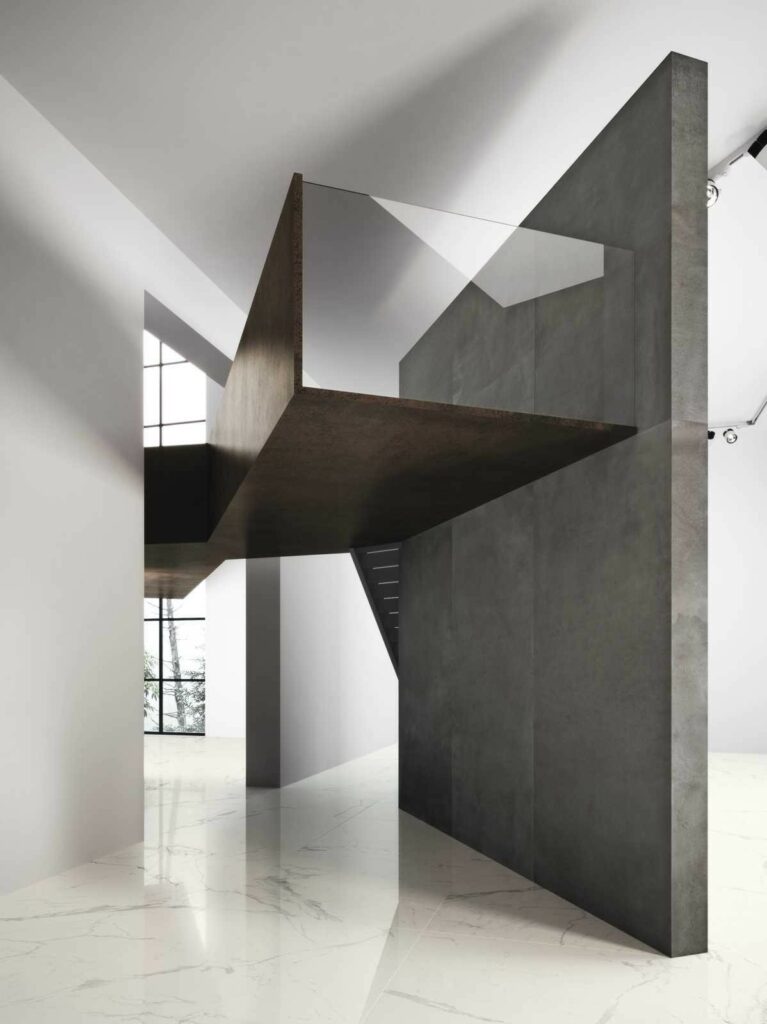
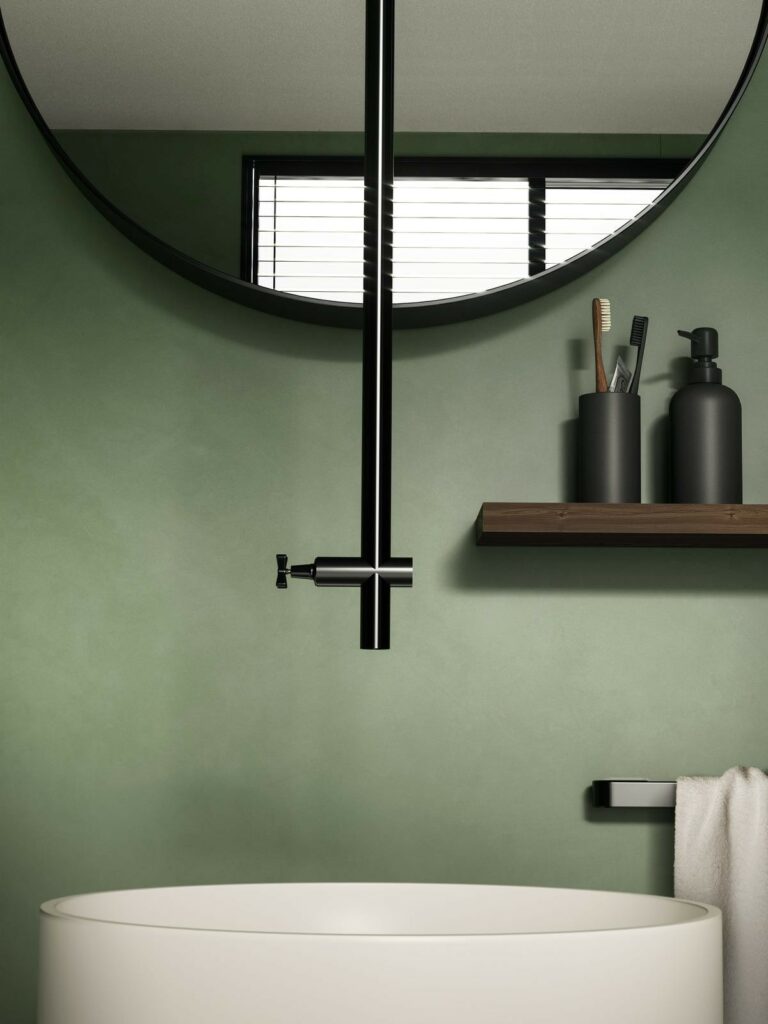
In recent years, the ceramic market has increasingly offered large porcelain stoneware slabs instead of the common tile. This trend began a few years ago with the tendency to offer increasingly large tiles, maintaining the classic 1 cm thickness, up to today the large slabs of two meters or more, which however have incredibly low thicknesses of 2/3/6 mm.

Once the choice has been made by the architect, the problem of handling and installing these slabs arises. The slabs are packed in wooden crates which contain several pieces.
If it is a small quantity, the handling can be done manually by inserting the fit edge guards and using a pair of suction cups to lift. Two people handle the slabs. Using a lifting kit it is possible to use a trolley to move the slabs once they have been removed from the packaging.

When the installation phase begins, it is often necessary to drill holes. The circular holes must be practical no more than 5 cm from the edge and the incision must take place at an angle of 75 degrees. Then a flared drill is used to make the edges more homogeneous.
Even the cut-outs for power sockets should not be traced beyond 5 cm from the outer edge. Four small holes must be made in each corner and then cut along the track with a diamond disc grinder. The edges must be finished using Velcro diamond backers.
For the processing of the edges it is necessary to use a device equipped with a diamond cutter.
To make a straight manual cut, you need to make the incision without pausing and at a constant cutting speed and pressure and detach the scored part at both ends with a cutting pliers.
To make a rectangular cut instead, you need to trace the edges using a drill or grinder with a 6-8 mm diamond tip or cutter and then cut along the track with a diamond disc grinder and use equipment equipped with a diamond disc to work the edges.

We now come to the part of the actual installation.
First of all, the planarity of the laying surface must be checked using a spirit level. Prepare a suitable adhesive and spread it on the substrate using a trowel with 6-9 mm teeth and also spread the glue on the slab using the double spreading technique, which prevents the product from forming air bubbles or empty spaces between the slab and the substrate.
The expected joint is normally 2 mm and is marked using special spacers with a self-levelling system.
Once this operation has been completed, the joints must be grouted, usually with a tone-sur-tone grout with respect to the color of the chosen slabs. The excess grout must be removed using a sponge soaked in water and the first cleaning must be carried out with water in a diagonal direction.
The second cleaning, if necessary, can be done using an acid solution diluted in water to remove any grout residue. Once again the final wash will be with water.
The final effect will be minimal, clean and elegant.
Hoping that this article will be useful for you, Follow us for other advice.


